Can you install Marvin windows yourself?
Understanding the Installation Process of Marvin Windows
When it comes to installing Marvin windows, understanding the process can help homeowners make informed decisions about their home improvement projects. The installation process begins with careful measurements and assessments of the existing window openings. This step is crucial to ensure a proper fit and alignment of the Marvin windows. Once the measurements have been taken, the old windows are carefully removed, taking care to prevent any damage to the surrounding structure. This is followed by preparing the window opening, which involves cleaning and inspecting the area for any signs of moisture or damage. The next phase involves installing a water-resistant barrier, such as flashing, to ensure proper weatherproofing. Finally, the Marvin windows are carefully positioned, secured, and insulated to complete the installation process. This meticulous approach ensures that the windows are properly sealed and that homeowners can enjoy energy-efficient and visually appealing windows for years to come.
Evaluating the Feasibility of DIY Installation for Marvin Windows
For homeowners looking to upgrade their windows, the option of DIY installation for Marvin Windows may seem appealing. The idea of saving money on professional installation and taking pride in accomplishing the project oneself can be enticing. However, before embarking on this DIY journey, it is essential to evaluate the feasibility of this approach.
The first aspect to consider is the complexity of window installation. While Marvin Windows are renowned for their quality and durability, installing them is not a task to be taken lightly. It requires precise measurements, knowledge of building codes, and expertise in working with various materials. Additionally, the weight and size of the windows can pose a challenge, especially when dealing with multiple-floor installations. Therefore, homeowners must honestly assess their own skills and experience, as well as their available resources and time commitment, before deciding whether DIY installation for Marvin Windows is a viable option.
Necessary Tools and Equipment for Installing Marvin Windows
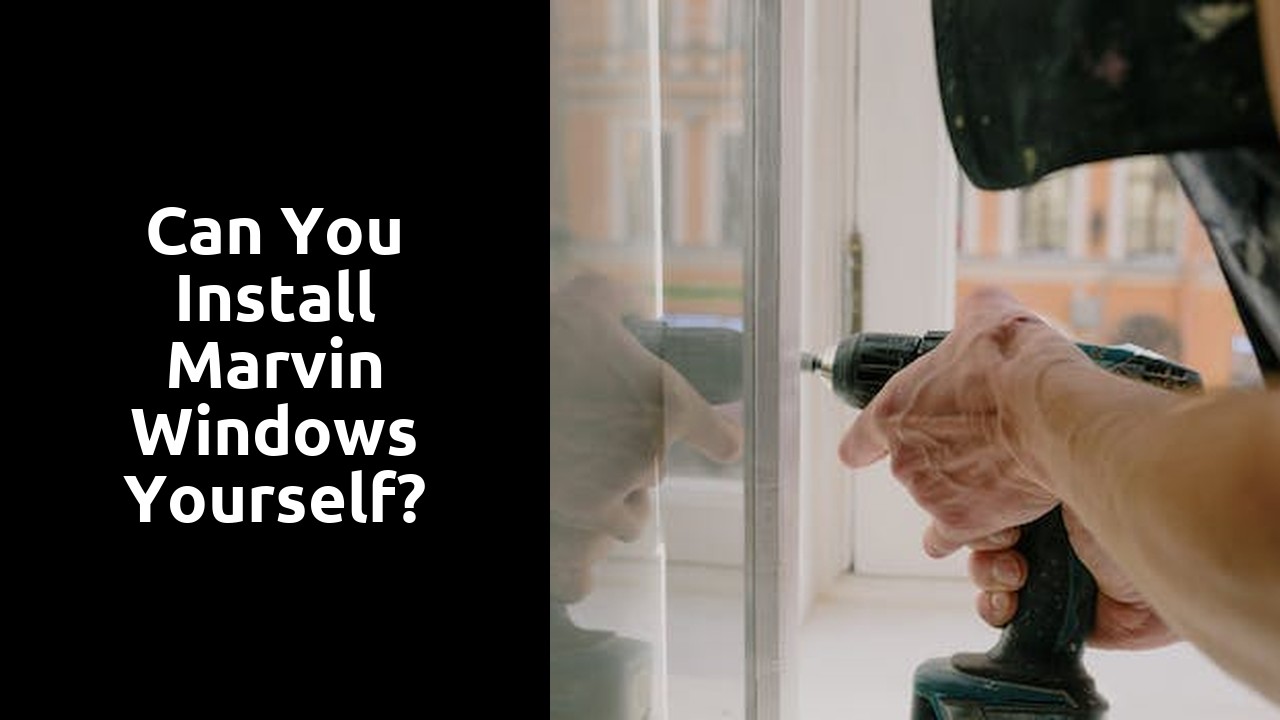
To successfully install Marvin Windows, there are several necessary tools and equipment that you will need. First and foremost, you will require a set of basic hand tools, such as a hammer, screwdriver, tape measure, and level. These tools will help you accurately measure and align the windows during the installation process.
In addition to the basic hand tools, you will also need a power drill with various drill bits. The power drill will be essential for drilling holes into the window frame and the surrounding wall, ensuring a secure installation. It is recommended to have a range of drill bits of different sizes to accommodate different screw and anchor sizes.
Furthermore, having a caulking gun and high-quality sealant is crucial for properly sealing the windows. This will help prevent any air or water leakage, maintaining energy efficiency and preventing potential damage. Finally, depending on the complexity of the installation, you may also need specialized tools, such as a pry bar or a reciprocating saw, to remove old windows or trim.
By ensuring you have all the necessary tools and equipment, you can confidently proceed with the installation of Marvin Windows, achieving a professional and durable result.
Preparing the Opening for Installing Marvin Windows
Before installing Marvin windows, it is essential to properly prepare the opening to ensure a seamless installation process. The first step is to measure the dimensions of the window opening accurately. This involves measuring the height, width, and depth of the existing window frame. By obtaining precise measurements, you can ensure that the new Marvin window will fit securely and provide optimal performance. Additionally, it is crucial to inspect the condition of the existing opening and address any issues such as rotting wood, water damage, or structural instability. By addressing these issues beforehand, you can prevent any further damage and ensure a sturdy installation for your Marvin windows.
Once the measurements have been taken and any necessary repairs have been made, the next step is to clean the opening thoroughly. Remove any debris, dirt, or old caulking from the surrounding area to create a clean surface for the window installation. It is important to note that a clean opening will not only provide a seamless installation but also enhance the overall appearance of the finished window. After cleaning, it is recommended to prime or seal the window opening with an appropriate primer to protect the surrounding structure from potential moisture damage. By following these preparation steps, you can ensure a smooth and successful installation of your Marvin windows.
Measuring and Ordering Marvin Windows for Proper Fit
Installing new windows in a home can be a significant investment, both in terms of time and money. To ensure a proper fit and a seamless installation process, it is crucial to carefully measure and order the Marvin windows. Accurate measurements are essential to avoid any complications or delays during the installation. Additionally, ordering the windows with precision will guarantee that they are custom-made to fit the specific dimensions of each opening.
When measuring for Marvin windows, it is vital to take precise measurements of the width, height, and depth of the window openings. To measure the width accurately, place the measuring tape horizontally at three different points: the top, middle, and bottom of the window opening. Note down the smallest measurement obtained. Similarly, when measuring the height, place the measuring tape vertically at three different points: the left, center, and right side of the window opening. Again, record the smallest measurement. Lastly, measure the depth of the window opening by measuring from the interior to the exterior frame. These measurements will provide the necessary information to order Marvin windows that fit perfectly into each opening.
Carefully ordering Marvin windows is just as important as measuring accurately. Once the measurements have been determined, it is crucial to communicate them correctly to the window supplier. Double-check the measurements and ensure that they are precise before placing the order. Provide the supplier with the exact dimensions and any other specific requirements, such as the desired style, material, and color. By doing so, you will be able to customize your Marvin windows to suit your home’s aesthetic and functional needs. Taking the time to measure and order Marvin windows accurately will result in a seamless installation process and windows that fit flawlessly in your home.
Step-by-Step Guide for Installing Marvin Windows
Before beginning the installation of Marvin Windows, it is important to gather all the necessary tools and materials. Make sure you have a measuring tape, screwdriver, level, and silicone caulk on hand. Additionally, ensure you have the correct window size according to your measurements.
To start, remove any old windows and clean the area thoroughly. Next, position the new Marvin Window into the opening, making sure it is level and plumb. Secure the window in place by inserting shims on all sides, ensuring a tight fit. Once the window is secure, fasten it with screws, being careful not to overtighten and risk damaging the window frame. Finally, seal around the edges of the window with silicone caulk to prevent any air or water leaks.
Related Links
What is the slogan for Marvin Windows?Are Marvin windows worth the cost?